TL;DR I used to think the AppleTV was as good as local media playback got. Then a discontinued, $200 Android box from AliExpress proved me completely wrong, delivering full lossless audio passthrough and true Dolby Vision Profile 7 FEL that Apple's own box can't touch.
Why I Was Wrong About My AppleTV
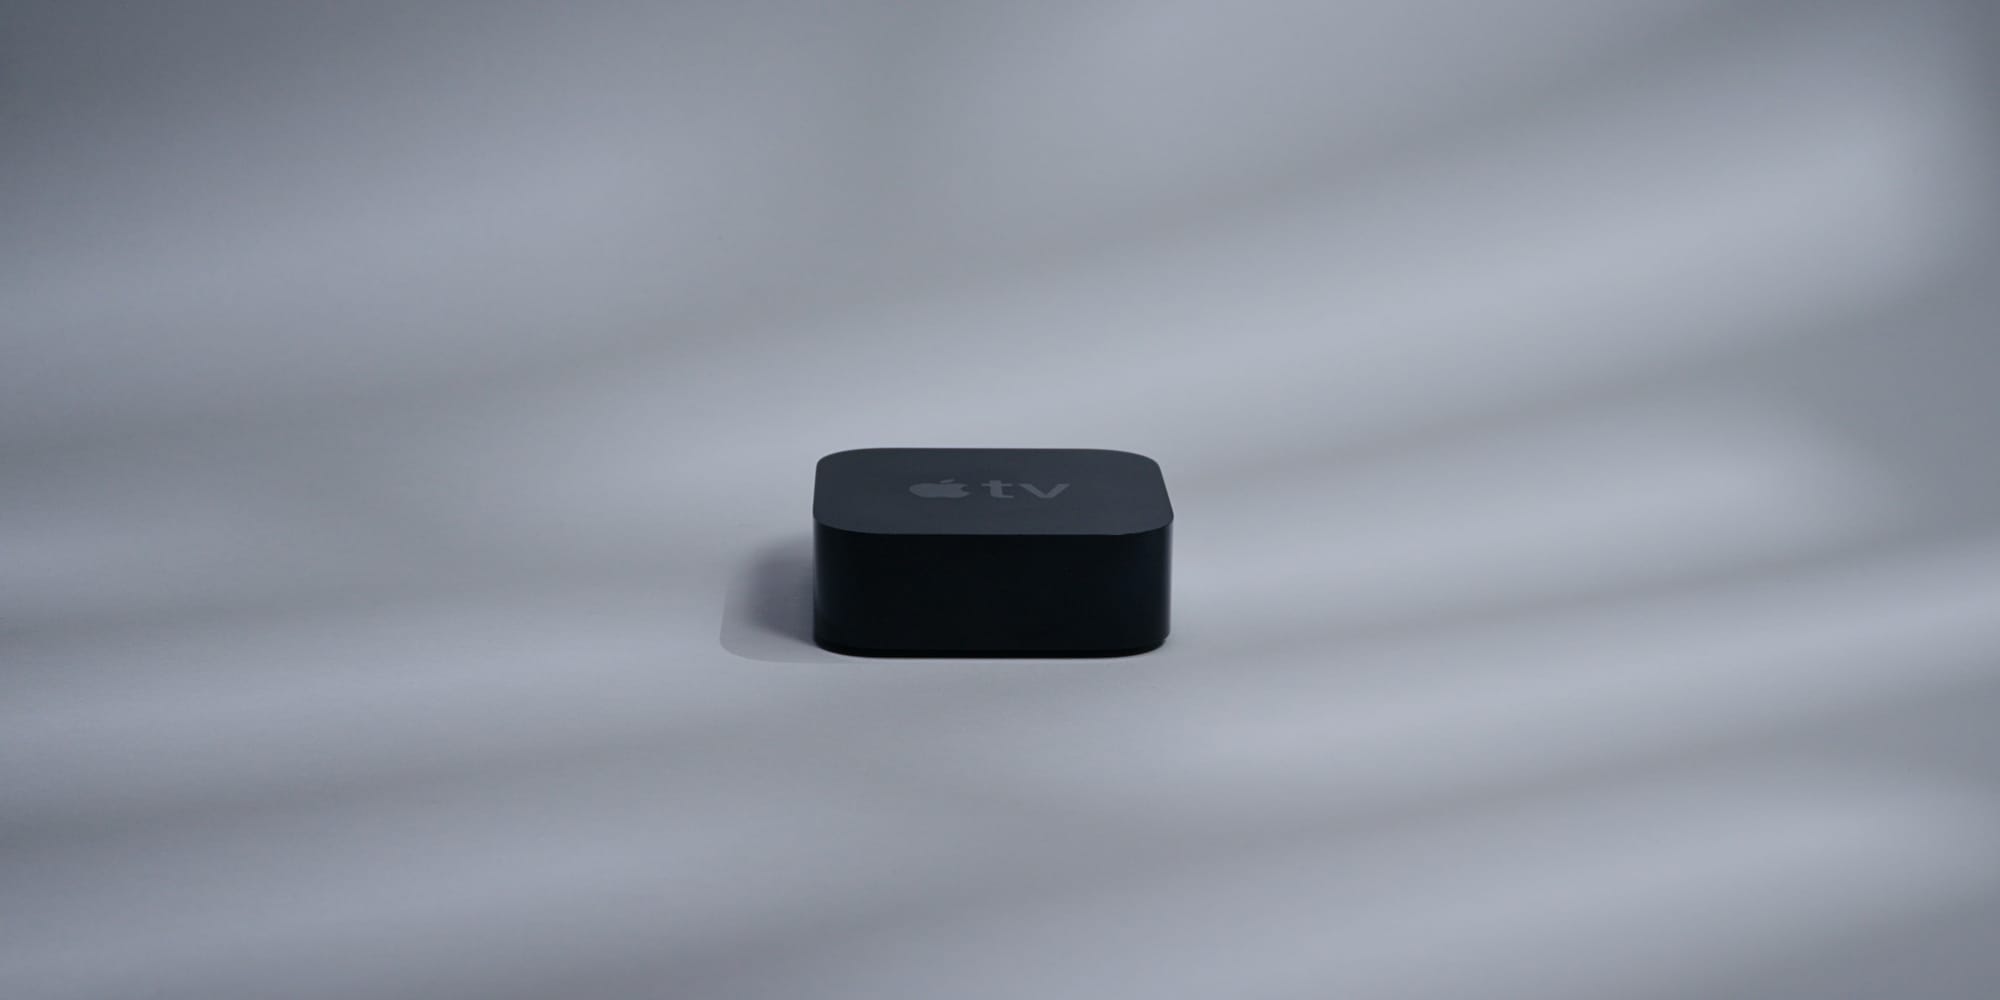
For the longest time, I thought the AppleTV was the de facto best way to consume a local media library at home. I was under the impression it supported the widest range of audiovisual codecs, feeding only the most nutritious signals into my hungry, hungry amplifier. I was, of course, wrong.
Not only does it not do that, there's been a better way to watch movies at home for a while now, and it's apparently on par with the holy grail of quality: physical media. It comes in the form of a discontinued, 200 dollar Android box I bought off AliExpress. Color me interested. Or should I say, HDR me interested.
The device is called the Ugoos AM6B+, a name I will not stop repeating throughout this piece, guaranteed. If you've roamed the home theater space online, you've likely come across it at some point. It's among the very few devices capable of fully passing through lossless audio as well as playing back Dolby Vision Profile 7, arguably the peak of quality for watching movies at home, matched or surpassed (depending who you ask) only by a physical Blu-ray disc.
But this wasn't always the case. The AM6B+ is, by default, a plain Android streaming box, running an OS you're likely familiar with. It's just equipped with a very particular set of skills, given to it by enthusiastic tinkerers, that make it something of a dream media player.
Before we get into how to set it up (and yes, it involves some tinkering), it helps to understand the complexities of today's formats and the limitations of the devices that play them back, namely the AppleTV and the Nvidia Shield, since those are among the most popular choices in this space. One disclaimer: this is about local media playback via a library like Plex or Jellyfin, streaming services aren't part of this.
Where AppleTV and Shield Fall Short on Audio
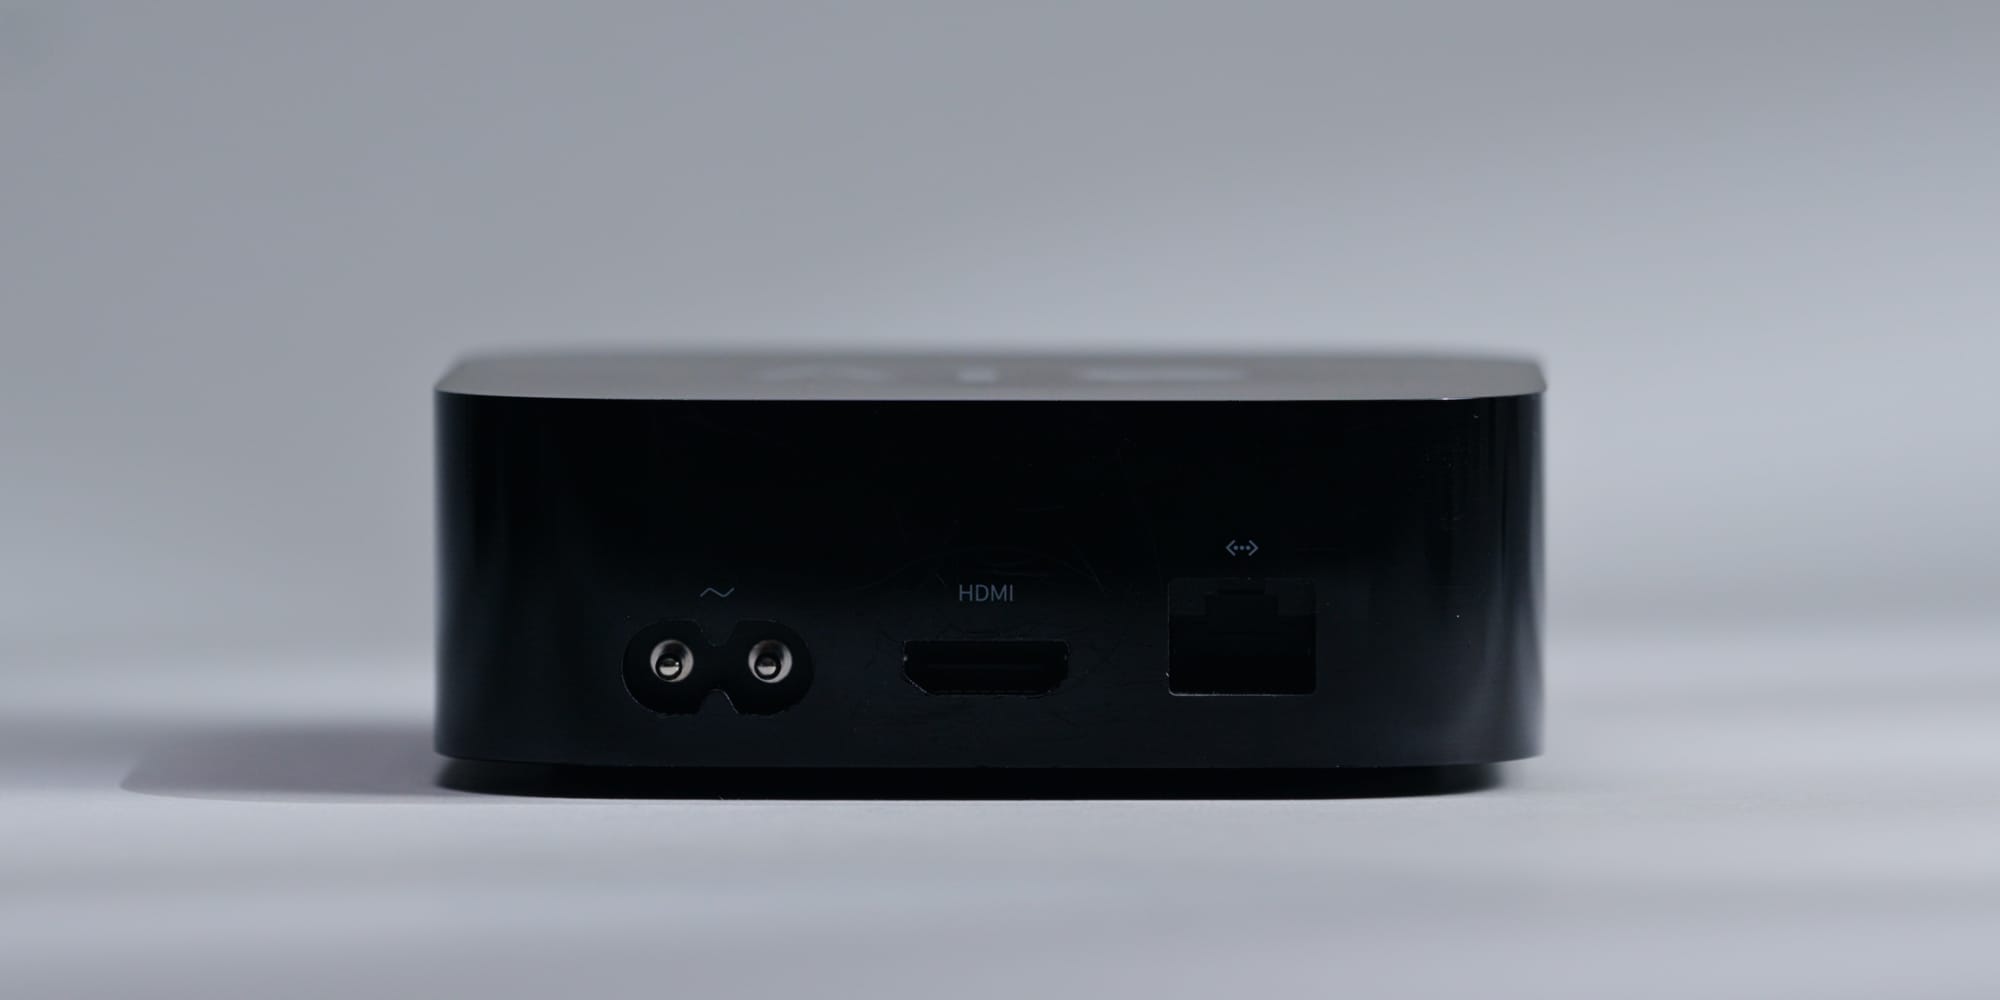
Like most things in life, I was completely oblivious to the AM6B+ until I was confronted with a problem that forced me to do something I try to avoid: thinking. The problem was my aging AppleTV 4K, showing signs of wanting retirement after a nearly 9 year tenure.
The only direct counterpart I knew of was the Nvidia Shield, often listed as the direct competitor, or superior, depending who you ask. Both are capable, but both have their limits. The latest AppleTV supports HDR10+, the Shield doesn't. But the Shield has something more enticing instead: full audio passthrough, a big selling point if you have a dedicated home theater system designed to process these signals and translate them into the high fidelity recreations we desire.
The AppleTV, unfortunately, decodes everything internally first and transmits the audio as a Linear PCM signal instead. I'm not an expert on this, but here's my understanding: although the AppleTV spits out a bit-perfect recreation of the source material, it loses all its specialized audio codec monikers, like Dolby Digital, Atmos, DTS, and so on. The AV receiver no longer knows what the signal originally was, and can't apply any specialized settings or EQ'ing for that format.
Apple did begin adding bitstream audio passthrough in tvOS 26, though it's limited to a certain group of apps, so it's still not possible with something like Infuse.
What I do know is that playing something back through my AppleTV, I don't get those neat little Dolby and DTS icons on my receiver. Doing the same with the Ugoos AM6B+, I get all of them, which, at least in my brain, flips the 'it's better' switch. The other issue is that Linear PCM doesn't understand object-based audio like Dolby Atmos or DTS:X, stripping that data entirely and making my top-firing speakers an even more questionable investment than they already were.
This isn't always the case though. When playing back movies from streaming services, I do get those icons, so what's different there? Two things. First, streaming services encode movies in Dolby Digital Plus (E-AC-3) to save bandwidth. Second, even though that signal is still converted to Linear PCM by the AppleTV, it's bundled with additional Atmos data in a container called Dolby MAT 2.0, which is then sent to the receiver. That version isn't the same as a true Dolby Atmos signal, and definitely not the same as what you'd get from a Blu-ray disc, but it beats nothing.
Dolby Vision Profile 7 and the Layer Nobody Talks About
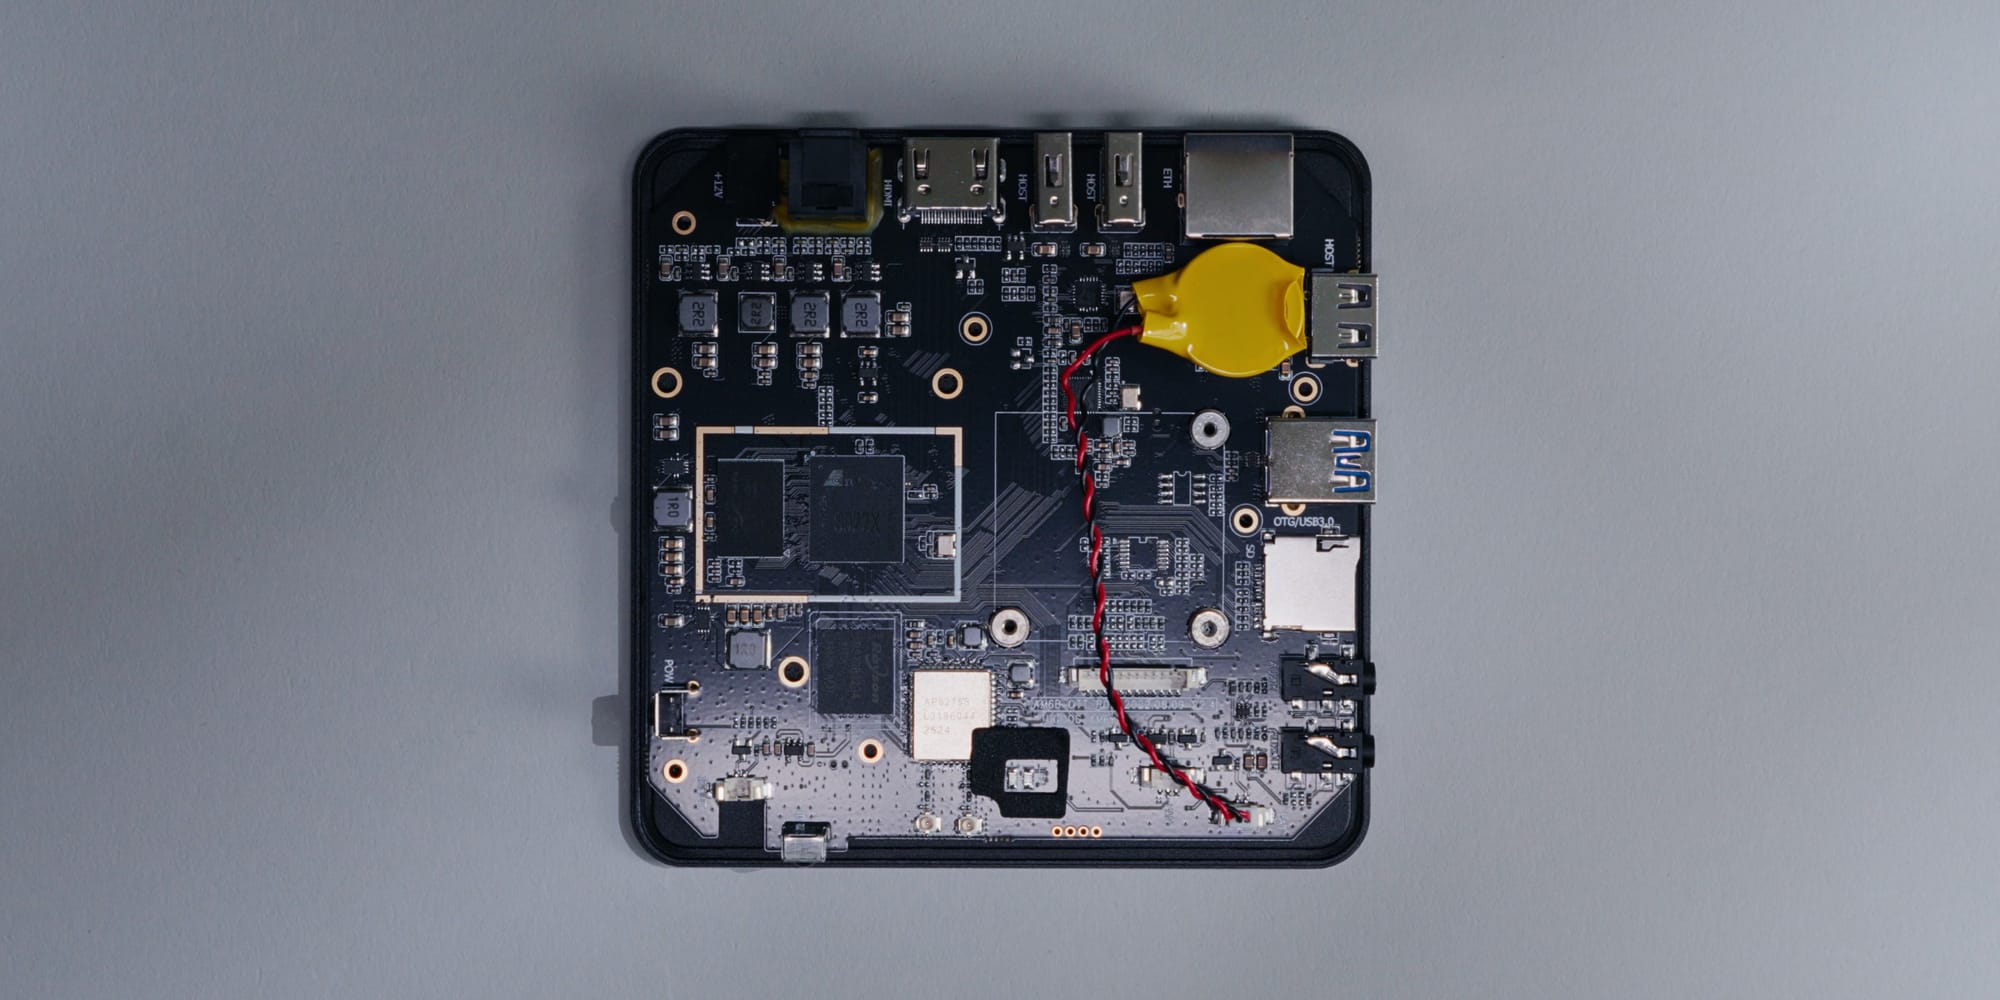
Moving from audio to video, the second limitation these streaming boxes share revolves around HDR, or more precisely Dolby Vision, and it's where the Ugoos AM6B+ really pulls ahead. Both the AppleTV and the Nvidia Shield play back Dolby Vision in one way or another, but neither can play back its highest level.
I had no idea about this myself. I always assumed a movie either had Dolby Vision or it didn't. Turns out there are different profiles, and the highest is called Dolby Vision Profile 7 FEL, or full enhancement layer.
In a nutshell, a Dolby Vision video has multiple layers of data. First is the base layer, or BL (not to be confused with BS, which is what mostly comes out of my mouth). The BL contains the actual 4K, 10-bit HDR10 video. The next layer is the Reference Processing Unit, or RPU, which contains the dynamic metadata, essentially telling your TV the brightness and contrast for every single frame displayed. This is what makes Dolby Vision, Dolby Vision, at least as far as I understand it.
Dolby Vision Profile 7 introduces a third layer, the enhancement layer, or EL, and this is where it gets interesting. It contains a hidden, secondary 1080p video, in one of two flavors. The minimum enhancement layer (MEL) leaves that secondary video essentially blank, so nothing really changes. The full enhancement layer (FEL) is the interesting one: its secondary video contains two extra bits of data that turn the base layer's 10-bit image into a 12-bit color master, along with 'repair data' to fix compression artifacts and color banding.
Neither of the popular streaming boxes can play back this version of Dolby Vision at all. Play a Profile 7 FEL movie with something like Infuse on the AppleTV and it won't know what to do with the second and third layers, falling back to just the base layer: a 10-bit HDR10 signal with no dynamic metadata. I found that particularly staggering, if true.
Nvidia's Shield does a little better. It keeps the RPU, and with it the dynamic metadata, so you still get true Dolby Vision, but the enhancement layer is ignored entirely. That doesn't sound too bad on paper, but applying dynamic metadata without the enhancement layer it belongs to can cause flickering and brightness issues with certain titles, Saving Private Ryan being the most notorious example.
I never noticed any of this myself, but then again I was streaming on an AppleTV the whole time. Now that I know, I can't un-know it, and I refuse to go back after experiencing the full dynamic range.
Why the AM6B+ Can Do What Apple and Nvidia Can't
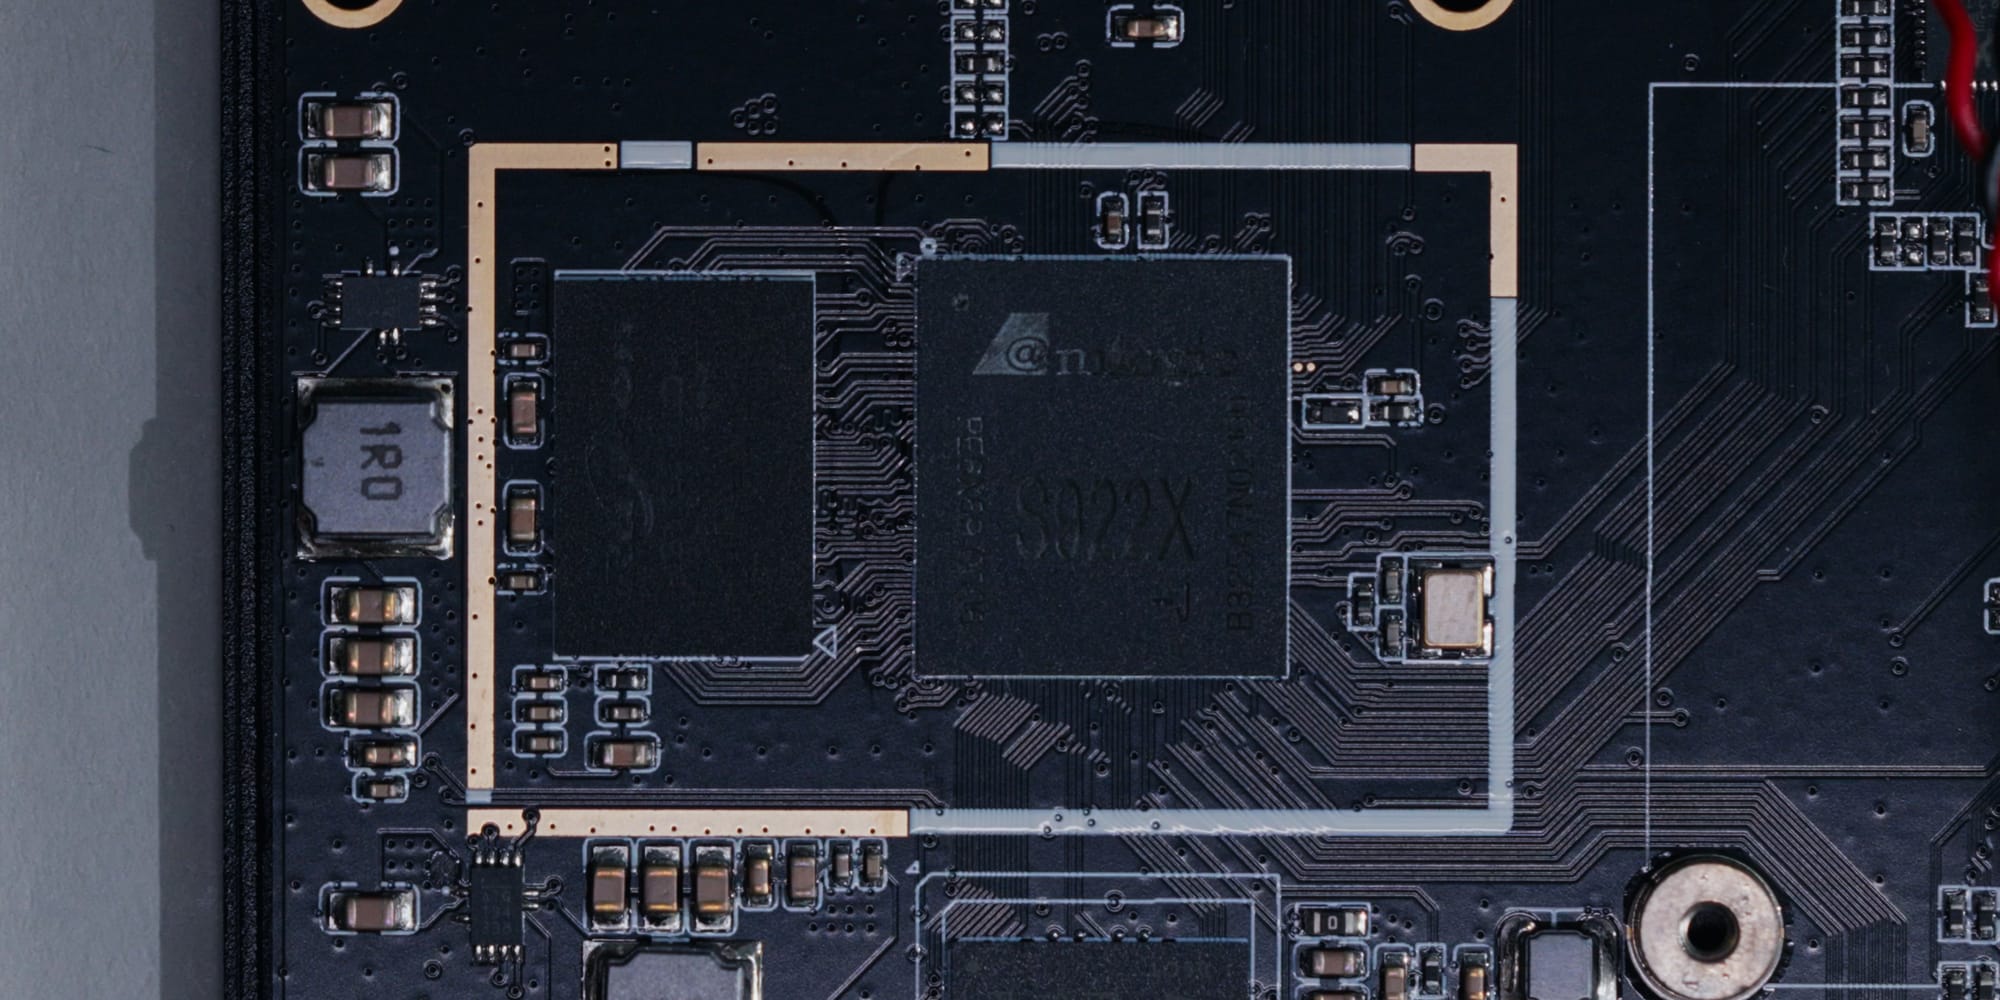
So why is the Ugoos AM6B+ so different? How can it manage both full audio passthrough and Dolby Vision Profile 7 in its full glory?
The audio part is easy: like the Shield, it doesn't do anything weird to the signal, and passes it unchanged to the receiver. Dolby Vision is the more interesting story. At its original release, the AM6B+ was a simple Android streaming box that neither the AppleTV nor the Shield crowd paid much attention to. What they didn't know was that inside this unassuming box sat a chip that later unlocked all the possibilities: the Amlogic S922X-J.
The important part is the '-J' at the end. In this version of the chip, Amlogic paid Dolby's licensing fees to decode Dolby Vision and Dolby Audio at the hardware level. I believe nobody noticed at first, so the capability sat dormant for years. Then the open-source community behind CoreELEC took notice, and after a lot of effort, early 2024 finally marked the release of CoreELEC for the Ugoos AM6B+.
CoreELEC, if you've never heard of it, is a dedicated Linux build made to run Kodi, the open source media player and manager formerly known as XBMC. Why is that release such a big deal? In modern chipsets, like the S928X (one of the successors to the S922X-J), support for the third layer, the FEL, is absent again, limiting newer models to a level not unlike the AppleTV or the Shield.
Why that is remains up in the air. One theory is that newer chips are intentionally locked down to discourage playback of illegally acquired Blu-ray rips. A less dramatic explanation is that newer chips simply run on a software stack that never got the necessary support. The S922X-J on the AM6B+, on the other hand, was fully unlocked to these capabilities from the get-go, leaving the door wide open to decode that secondary 1080p enhancement layer stream. It was the first device to manage it, and for a good while, the only one.
Equipped with that hardware, the only thing standing in the way was Android itself, because Android simply couldn't do it. That's where CoreELEC comes in again: running a custom build tailored to the S922X-J, it unlocks every capability, full audio passthrough and Dolby Vision Profile 7 support including FEL.
Setting Up CoreELEC on the AM6B+
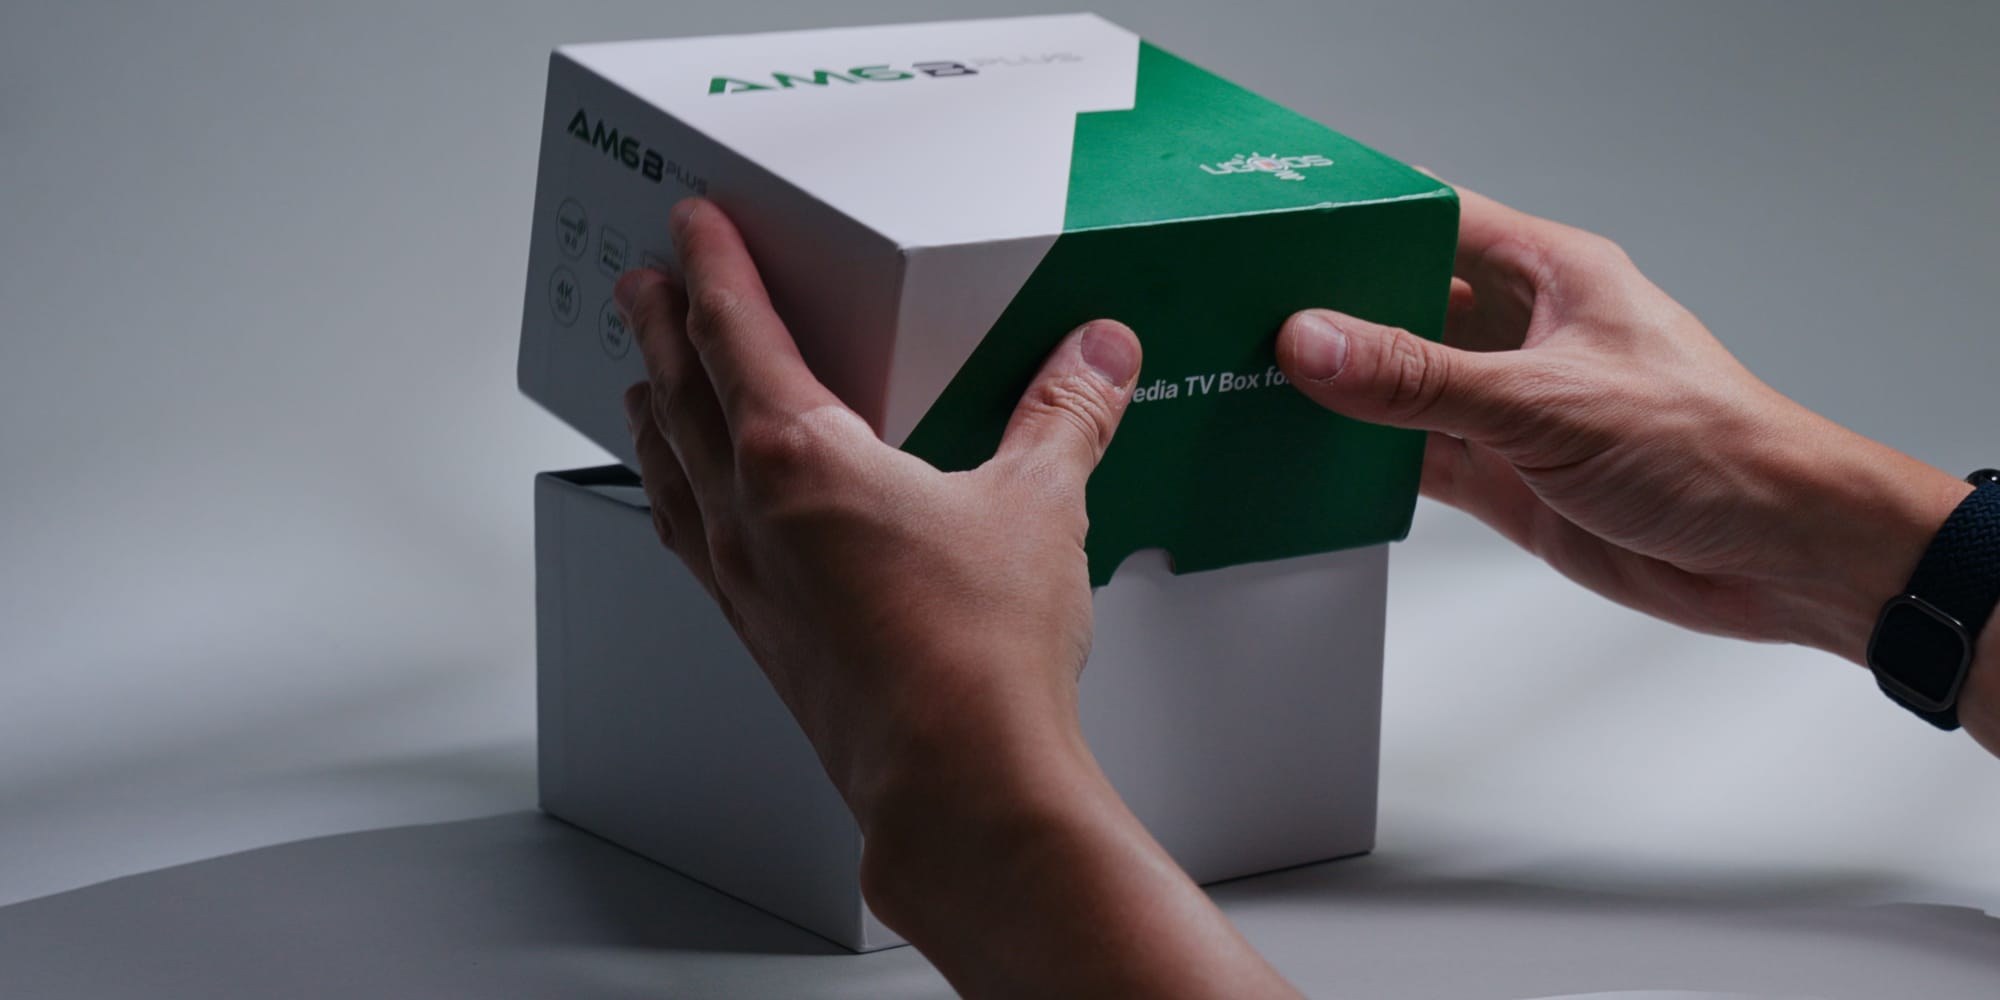
The Ugoos AM6B+ is a little hard to find these days, on account of its ceased production. It's a 5 year old box that's long been succeeded. There are a few eBay listings floating around, a little overpriced for my taste. I'd normally avoid this route, but you'll find more reasonable offerings on AliExpress. 'Reasonable' is relative these days though: demand has pushed prices up, and I ended up paying over $200 for it, which is a little wild for a box this old.
It arrived quickly, and the basic setup was just as fast: follow the prompts until you hit Android. Since I never intended to use the OS it shipped with, I went straight to installing CoreELEC. I followed a fantastic guide over on the CoreELEC forums (linked below) rather than inventing my own steps.
It starts with downloading the CoreELEC image file and flashing it onto a microSD card or USB stick. I used a microSD with balenaEtcher on macOS, since the AM6B+ has a dedicated slot for it, making the process painless. Before booting from the card, there are a couple more steps. The guide has two additional files to download: a 'dovi.ko' file that tells the kernel how to handle Dolby Vision Profile 7, and a 'remote.conf' file for the IR remote, which I don't need since I intended to pair my Remote 3 over Bluetooth (more on that in a separate piece), but I followed the guide closely regardless. Both files need to be copied into the root directory of the COREELEC partition you just created.
Then navigate to the 'device_trees' folder, find 'g12b_s922x_ugoos_am6b.dtb', copy it to the root folder too, and rename it to 'dtb.img'. Everything's now prepped. Unplug the AM6B+, insert the microSD or USB stick, hold down the 'Recovery' button, and plug the power cable back in. That triggers the boot process and launches CoreELEC from the card.
Here's where the guide sort of ends, but I wanted to go a step further. Although you're seeing CoreELEC running, it isn't actually installed anywhere yet, it's booting off the microSD card. You can install it onto the onboard memory instead. First, connect the AM6B+ to WiFi and enable SSH under Settings → CoreELEC → Services → SSH. You don't strictly have to, but it's much easier to do this kind of thing from a more capable, remote device.
Once connected, run `ceemmc -x`, answer a couple of questions (like whether Android should stick around), and wait until everything's moved. That only covers the base CoreELEC instance though. You still need to move the Dolby Vision kernel file, the same dovi.ko we copied into the root directory earlier. While still connected via SSH, run `mount -o rw,remount /flash` to unlock the boot drive, then move the file with `mv /storage/.config/dovi.ko /flash/`.
Once that's done, turn off the box, remove your storage device, and restart. Congratulations, you've installed CoreELEC onto the internal memory of the Ugoos AM6B+. One small tip: under Settings → CoreELEC → Hardware, set the 'eMMC Speed Mode' to HS200 or HS400 so the internal memory actually runs at full speed.
Dialing In Your Settings
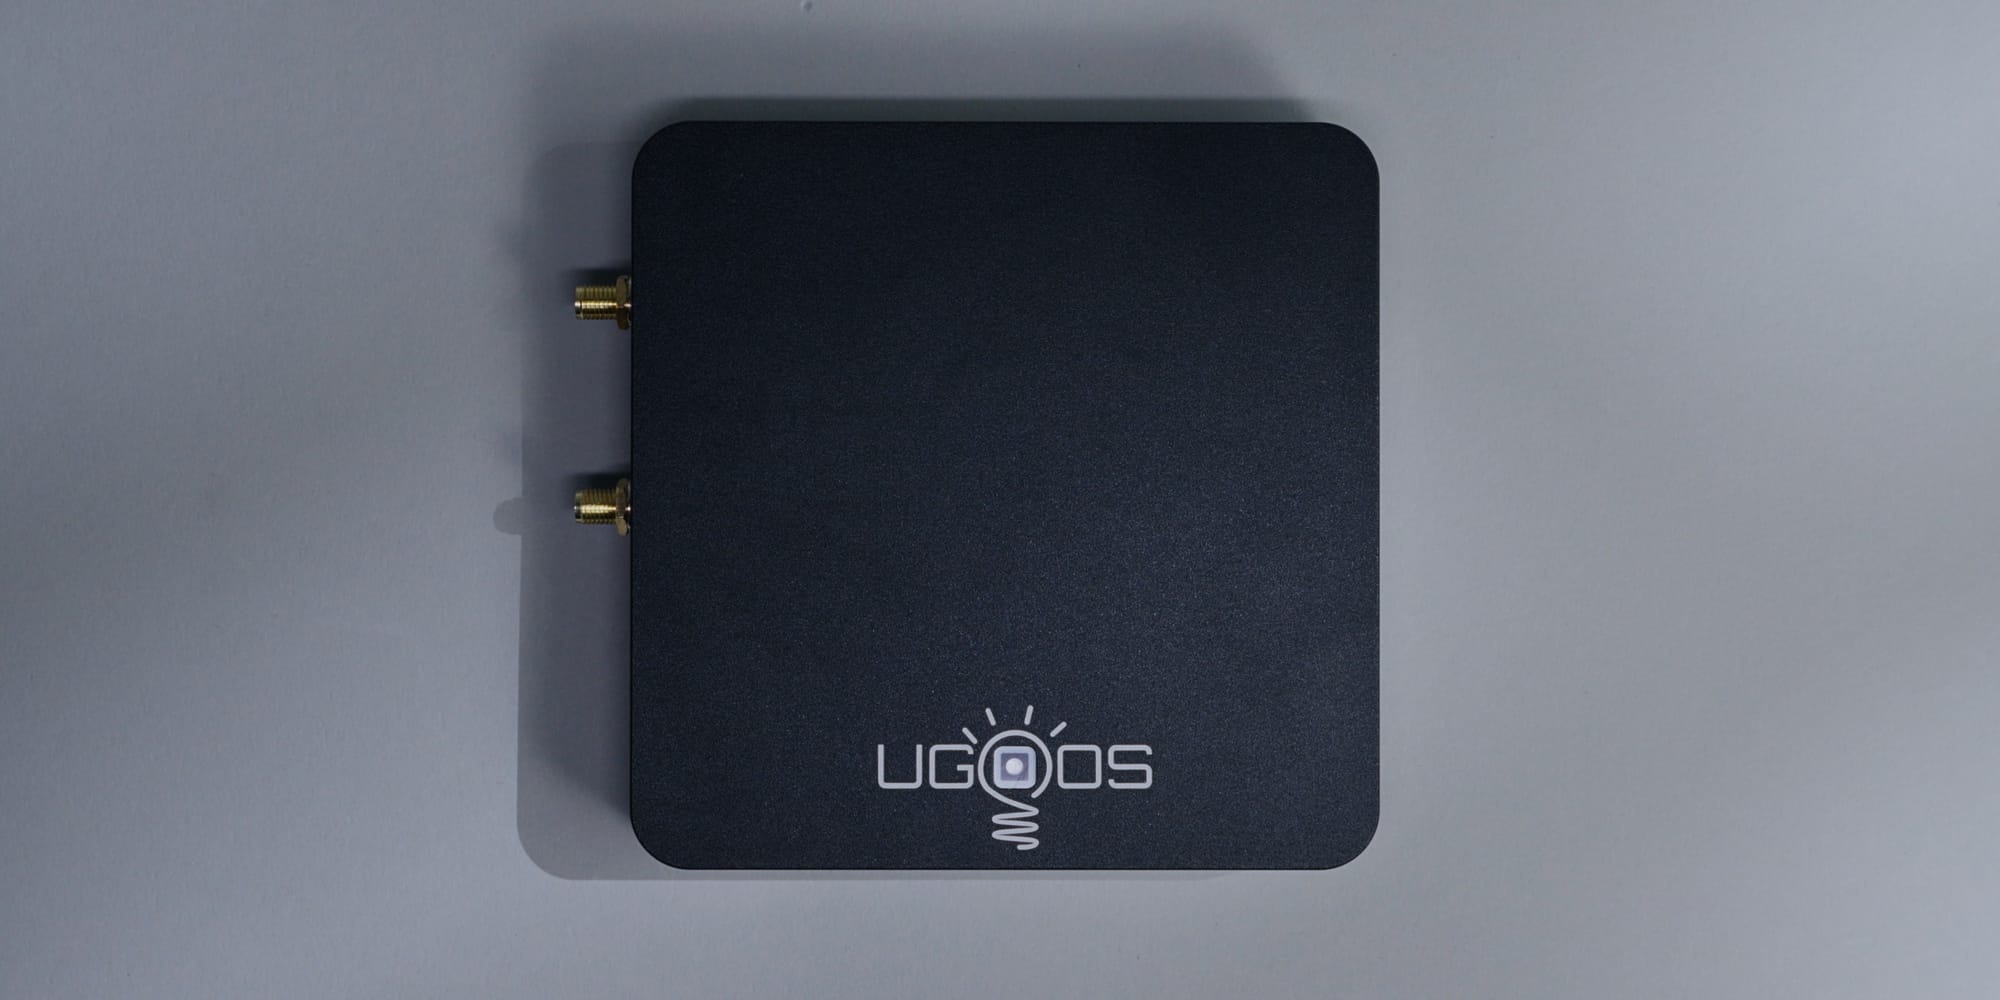
You're finished with the installation, but nowhere near done with setup. A lot of what follows depends heavily on personal preference, so I won't walk through everything, just some of my basics as an example.
First, check that Dolby Vision is actually installed correctly: go to System → CoreELEC → Display and make sure 'Disable Dolby Vision' is OFF (I don't know why it's phrased as a 'disable' setting instead of the other way around, but here we are). Then make sure audio passthrough is enabled too, since that's half the reason we did this whole thing: System → Audio → 'Allow passthrough'. I don't know if the codec checkboxes below actually matter, but I enabled all of them just in case.
One setting worth not forgetting: change the refresh rate whenever a video starts playing, so the TV's refresh rate matches the video's fps for smooth cinematic playback. In CoreELEC that's under Playback → 'Adjust refresh rate on start/stop'.
With those set, you'll already have a configuration better than either the AppleTV or the Shield. But that's still just the tip of the iceberg. CoreELEC and Kodi have so many customization options you can spend hours getting it exactly the way you like. For my media library, I finally switched over to Jellyfin, sitting on the TrueNAS system I set up a while back. For the skin, I went with 'Copacetic', which I like best for how minimal and clean it looks. I also set a global subtitle style with support for Japanese characters (not because I can read Japanese, but because it looks cool), and enabled the show and movie logos on the pause screen for the same reason.
I was a little hesitant to leave my trusty AppleTV at first, but I've come around to this new look. It also had a side effect I wasn't expecting: it increased my watch time.
Living With It: The Good, the Flaky, and the Surprising Side Effect
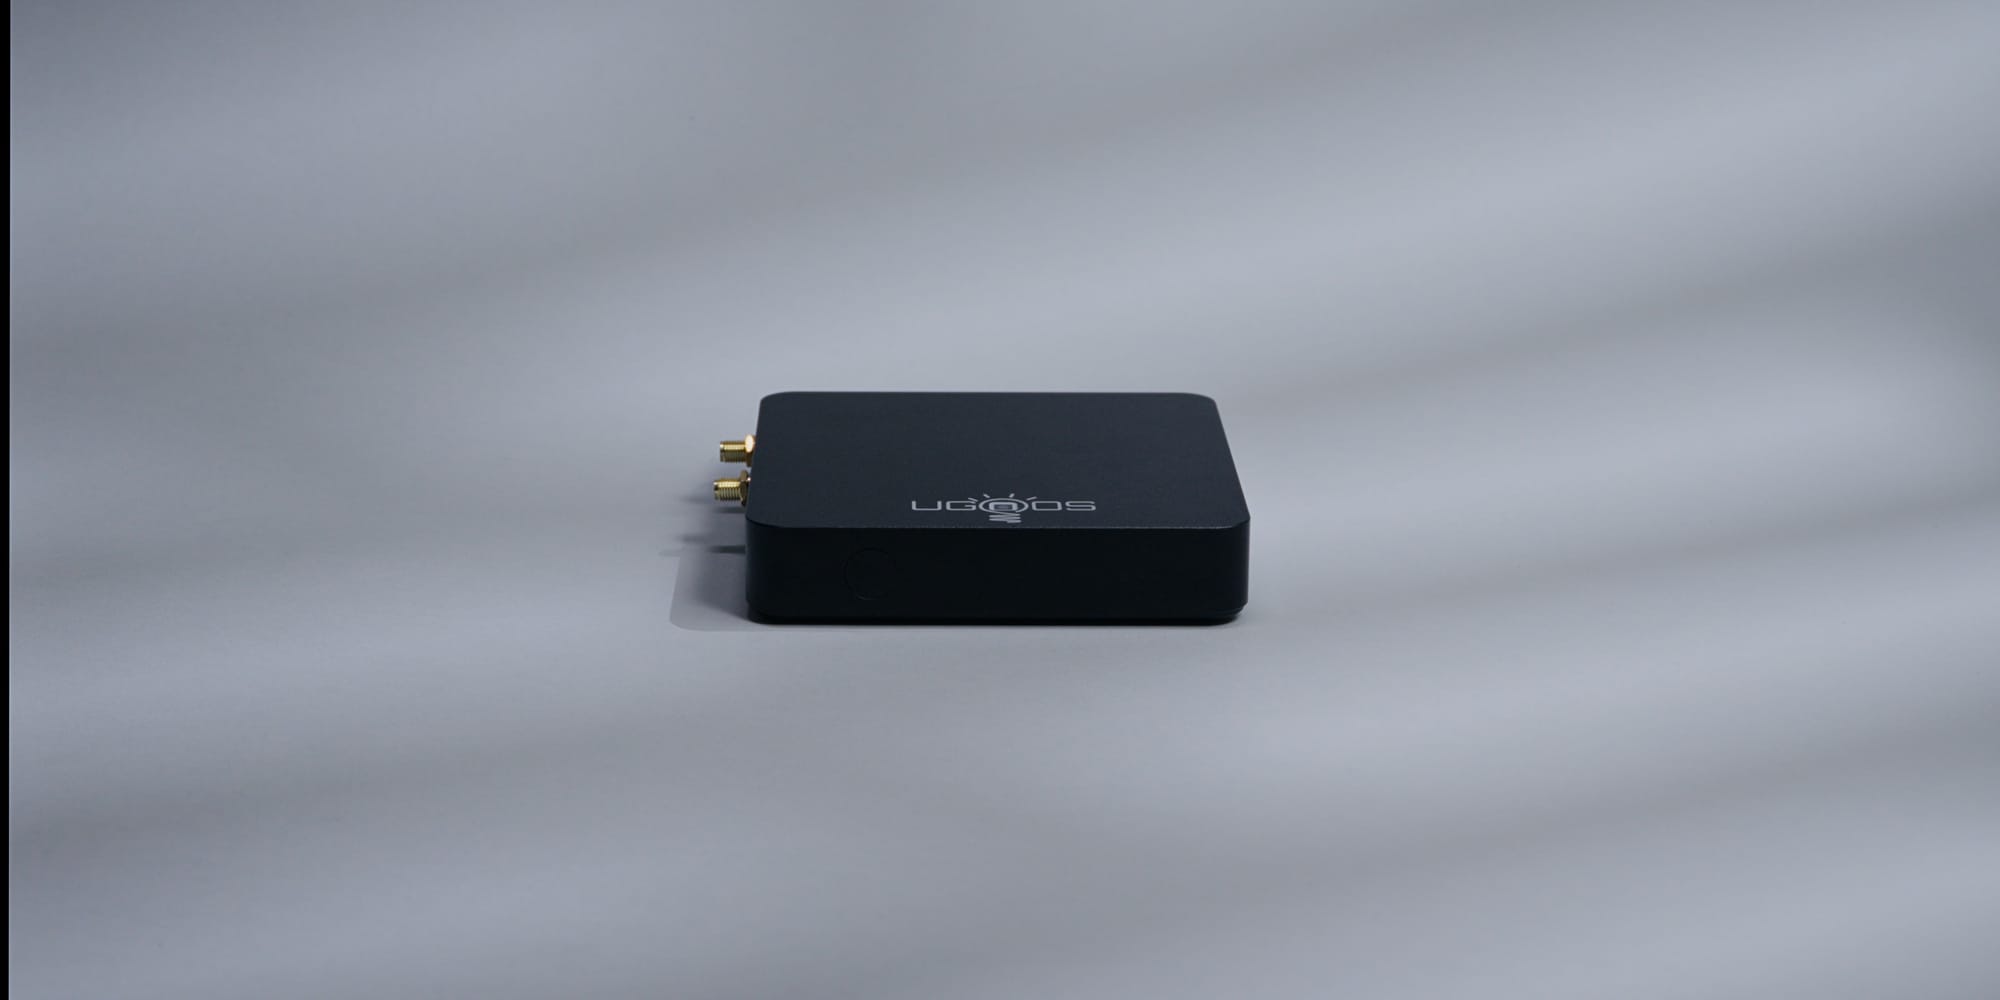
The setup itself is fairly easy thanks to the hard work everyone at CoreELEC (and beyond) put into it, but the amount of time spent tweaking every little detail can take a while. It did for me. I'm still occasionally dealing with issues: some HDMI handshake troubles now and then, what with all the refresh rate and HDR switching, and HDMI-CEC that isn't fully reliable. Sometimes certain devices just won't react to remote presses, or the AM6B+ won't wake on its own because it's off, forcing me to get up and manually smash the button.
On the audio side though, I think it was very much worth it. I can't invite you over to experience it yourself, but I was a little shocked to find that even movies without Atmos sounded noticeably better. Take that with a grain of salt, my mind might just be playing tricks on me. But even after I forgot about the change entirely and went back to my regular shows, I caught myself thinking 'did it always sound this good?' So yeah, I think it's actually better, much better.
On the Dolby Vision Profile 7 FEL side, the story is more nuanced. I tested this directly by comparing one of the more notable Profile 7 titles, Saving Private Ryan, played from the same file on the same Jellyfin server through both the AppleTV (via Infuse) and the AM6B+ (via CoreELEC), shot with identical camera settings, lens, and position. The difference was stark, and not just in color. The AppleTV showed a noticeable flicker, something I'd read about beforehand, which is exactly why I picked this movie to test.
With a difference that big, why call it nuanced? Because Saving Private Ryan is an extreme case. The number of Dolby Vision Profile 7 titles with a full enhancement layer is limited, there's a handy list on Trakt.tv that tracks all known Profile 7 FEL movies, and for a lot of other titles it won't make nearly as much of a difference if you're coming from something like an Nvidia Shield. For someone coming from an AppleTV like myself though, I still think I'm benefiting from the upgrade, even for the majority of movies I watch that aren't at the very top tier of quality.
There's also a side effect I didn't see coming. CoreELEC does technically have a YouTube add-on, but I never managed to get it working, so for me the AM6B+ remains a 100% local media player. That means I can't endlessly browse YouTube on it, which is actually a blessing. I normally find myself randomly skimming through YouTube, killing time on random videos instead of watching something more meaningful. Not having a bottomless feed of choices forces me to stick to my own, personally curated list, and I love it. Is that an actual selling point? Maybe. It's certainly an unexpected one, I wasn't thinking about it when I started this whole journey, but then again, I don't think that often to begin with.
If You Can't Find One: The Alternatives
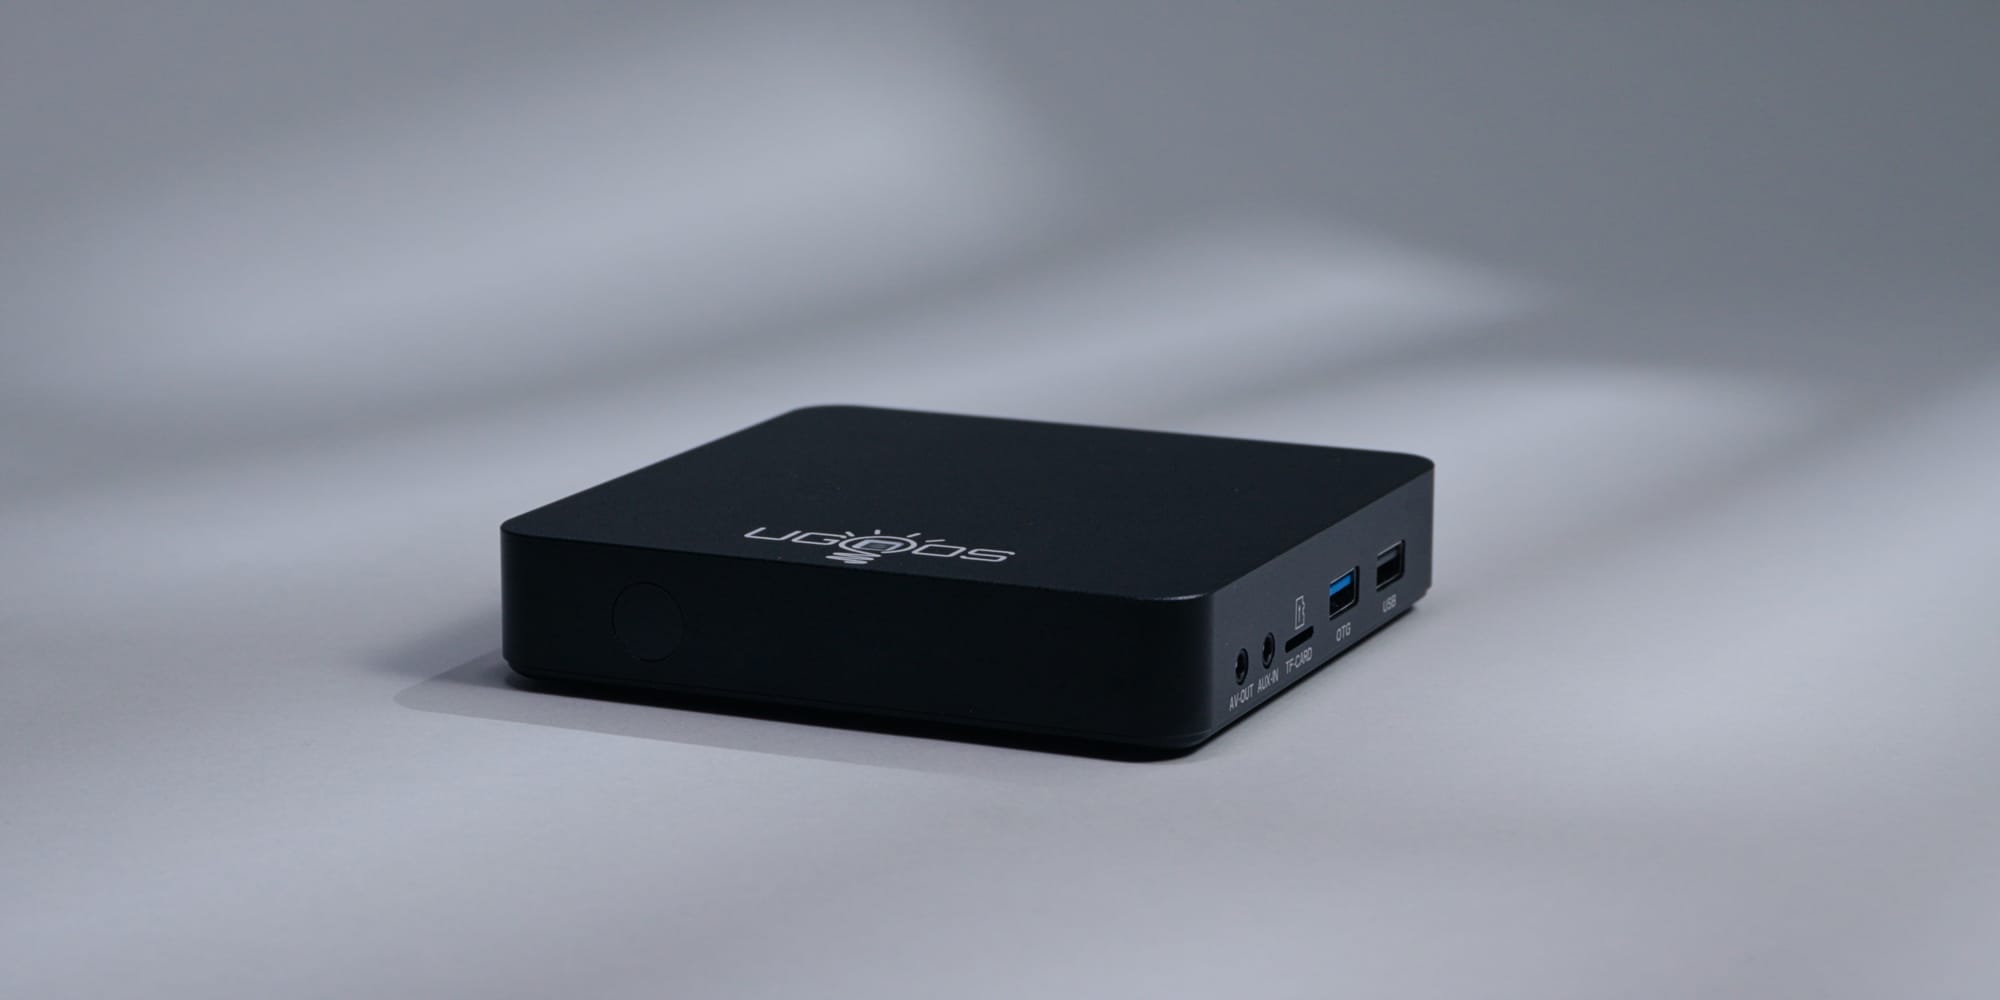
If you're in a similar boat but with slightly different requirements, there are comparable devices out there doing similar or even the same things. The Zidoo Z9X Pro (or UHD8000), or the Dune HD Pro Vision 4K, the latter of which costs about the same as the AM6B+.
All of these will happily play back a Profile 7 file and apply the dynamic metadata, but not all of them decode the enhancement layer in full. The ones built on Realtek chips, for example, physically can't, since they lack a second video decoder to handle that hidden 1080p stream. You get the 10-bit base layer with correct tone mapping, but none of the 12-bit reconstruction: essentially Profile 8 wearing a Profile 7 trench coat.
The Dune is a different story. It runs an Amlogic chip, the S905X4-J, a close cousin of the S922X-J inside the AM6B+, and it's actually capable of decoding that second video layer too. Install CoreELEC on it, and you get the same result: the full enhancement layer.
That goes for Ugoos's own newer boxes too. While researching this, I came across a great comparison video by ht2tweak, who pitted the newer Ugoos SK4, SK4 Pro, and AM9 Pro against the AM6B+, and wouldn't you know it, the AM6B+ still reigns supreme. I'd recommend watching it in full, it's well worth it. Considering all the features, the oldie is still the goldy. The newer Android 14 boxes also won't allow installation onto internal memory anymore, they're limited to booting off a microSD card or USB stick.
If the AM6B+'s climbing price scares you off, there's one more option worth a look: the second-gen Amazon Fire TV Cube. It runs similar hardware and can be rooted for CoreELEC, and it even dual-boots into proper Android with all the certified streaming apps, something the Ugoos won't do. If that's a capability you need, it's worth checking out.
Like a lot of gadgety journeys I go on, this one started with a Google search, some Reddit posts, and a single recommendation for what to buy. As usual, it turned out to be much more complex than expected, but in the end I'm glad I picked the Ugoos AM6B+. The results are striking, and even though I have to revise my opening statement about the AM6B+ being the only choice, it still seems to be the most reliable one, even after all these years.
Mentioned Things
Pros
- True lossless audio passthrough, not just LPCM
- Full Dolby Vision Profile 7 FEL decoding, not just RPU
- Amlogic S922X-J chip fully unlocked from day one
- CoreELEC installs straight onto internal eMMC storage
- Being local-only kills mindless YouTube scrolling
Cons
- Discontinued and getting pricier to track down
- Occasional HDMI handshake and refresh-rate hiccups
- HDMI-CEC control isn't fully reliable
- True Profile 7 FEL titles are still fairly rare
- CoreELEC's YouTube add-on doesn't actually work